This will guide you through the steps of setting up the first Beacon on your project.
System Overview
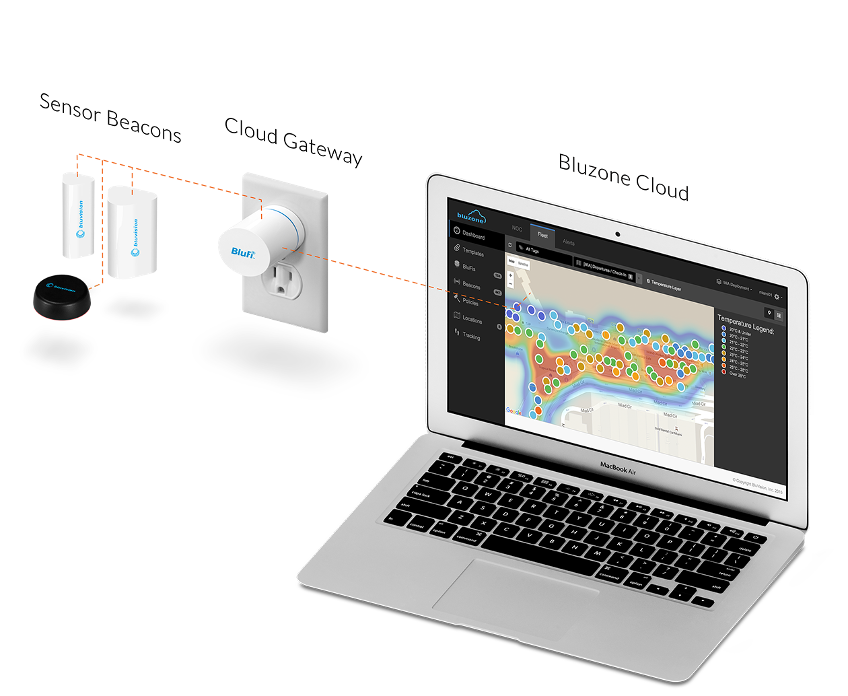
The high-level network architecture of bluvision system is comprised of mainly three components
- Beacons
- BluFI Gateway
- Bluzone Cloud
The beacons sensors transmit real time data to the BluFi gateway. BluFi (Bluetooth to Wi-Fi Gateway) receives the data from the asset tags and forward to bluzone cloud over the Wi-Fi network. The system also has the flexibility to transfer the data via smart phones with SDK/ app. The Bluzone cloud allow user to create policies for sensors and check the real-time status of the assets.
About Beacon
A radio beacon is a transmitter at a known location, which transmits a continuous or periodic radio signal with limited information content (for example its identification or location), on a specified radio frequency. Occasionally the beacon function is combined with some other transmission, like telemetry data or meteorological information.
Beacon Step-by-
...
Step Guide
There are two ways to set up beacons - using Regular Provisioning and an advance method called Virtual Provisioning. Virtual Provisioning is explained elsewhere.
- Regular Provisioning
- Beacon Bulk Upload method
The bluzone provisioning app detail are available in below link.
Regular Provisioning:
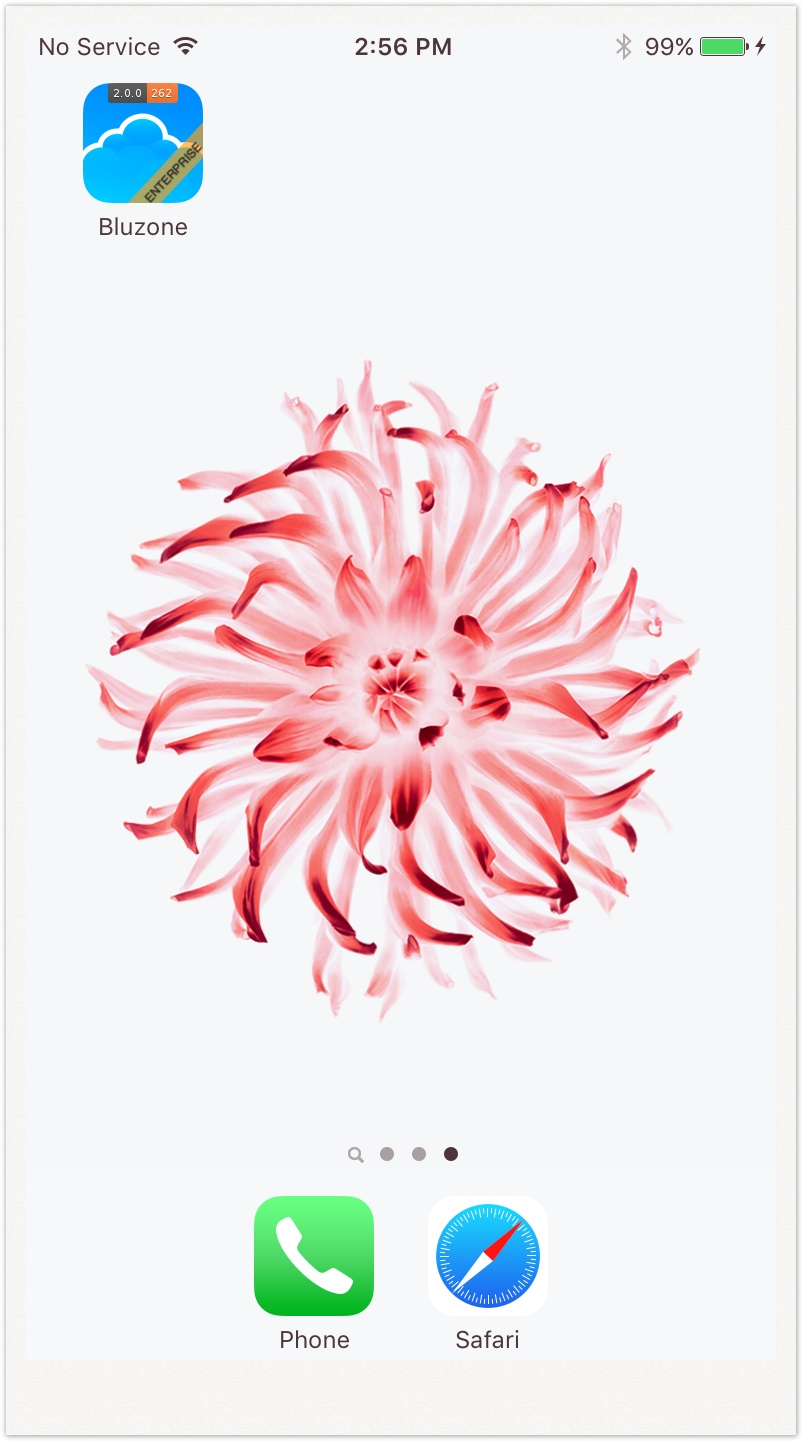
- Launch the Bluzone app on your device

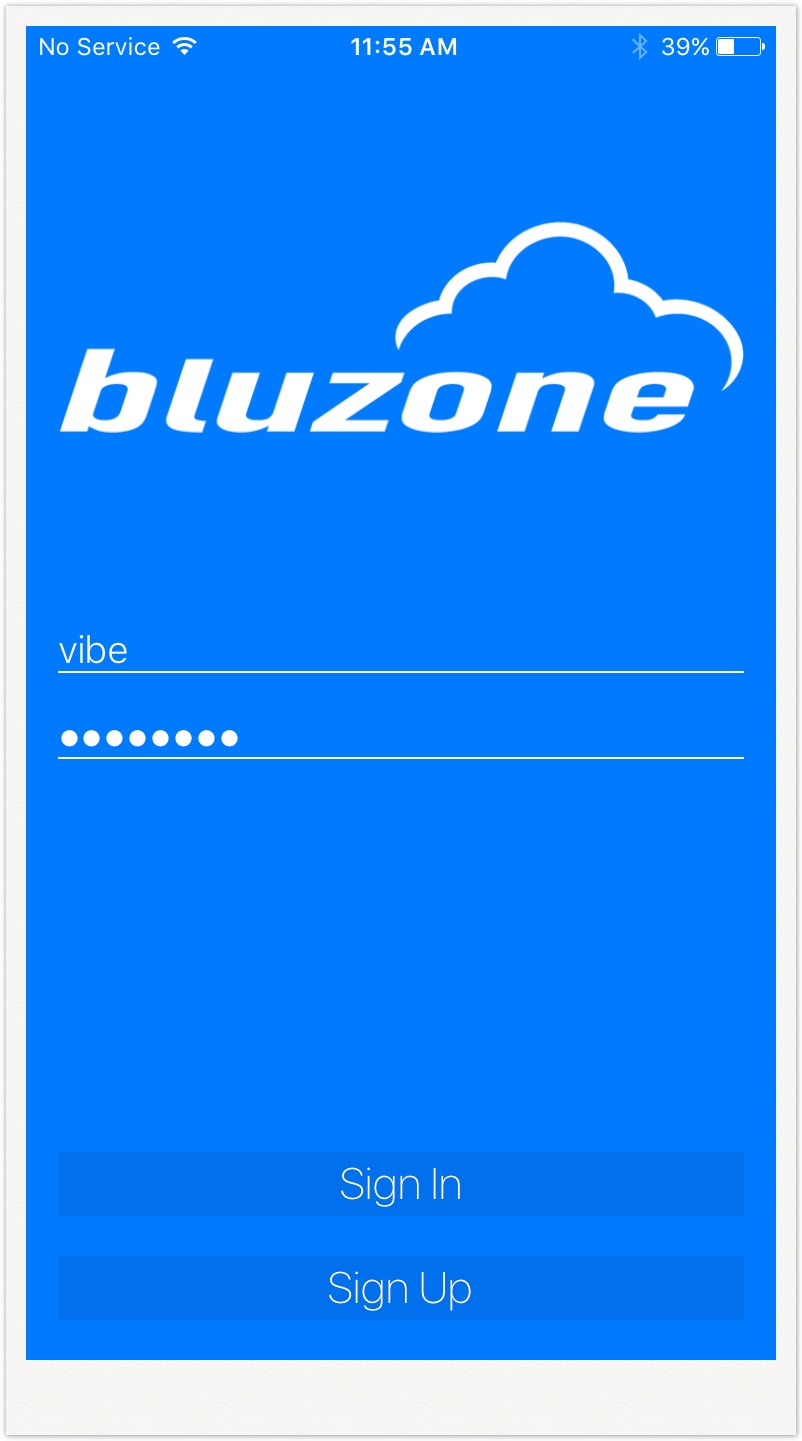
- Sign in using your username and password

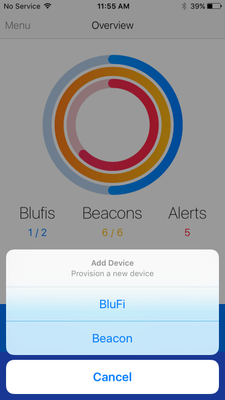
- Click Provision


- Click Beacon
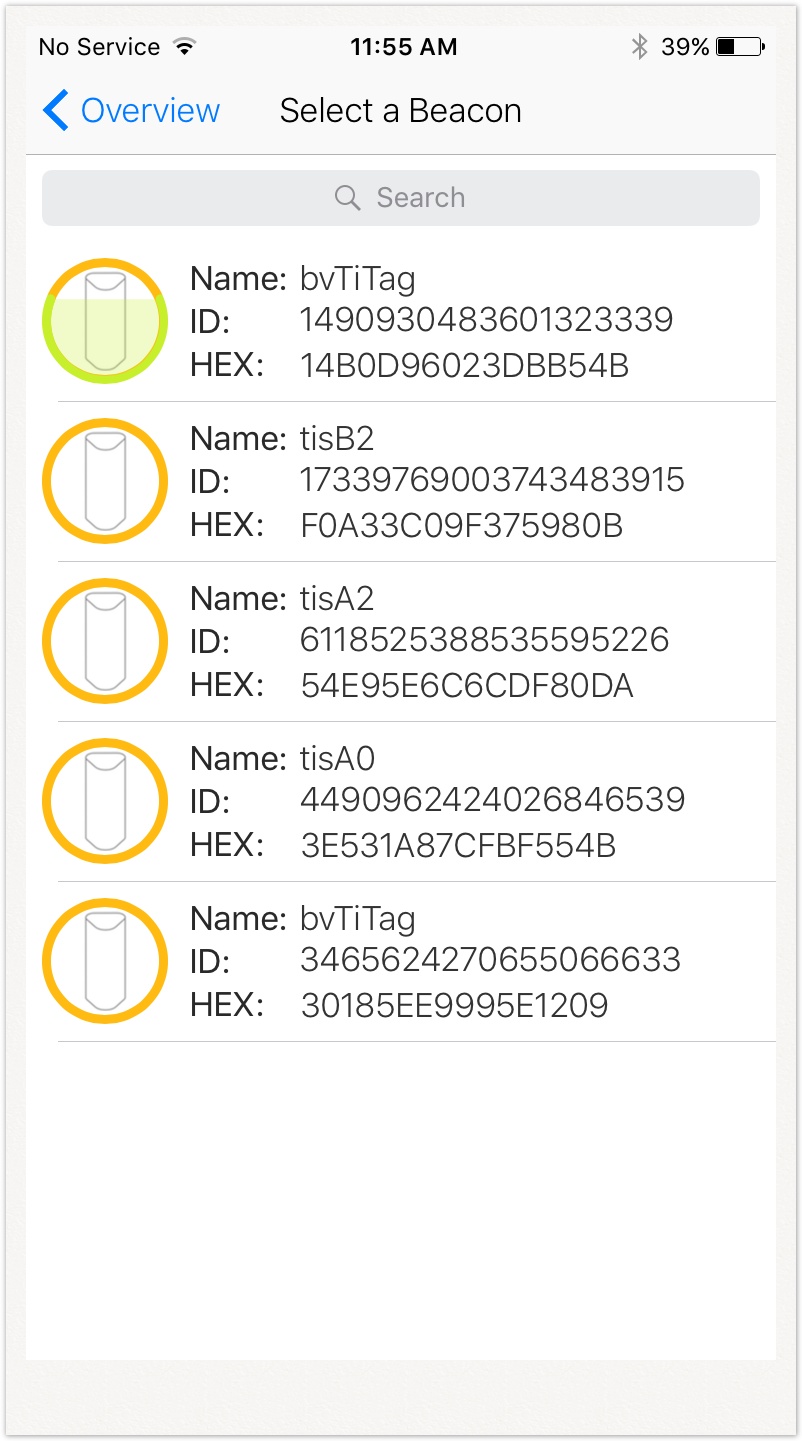
- Next you will see a list of all the available beacons around you. Select appropriate bacon

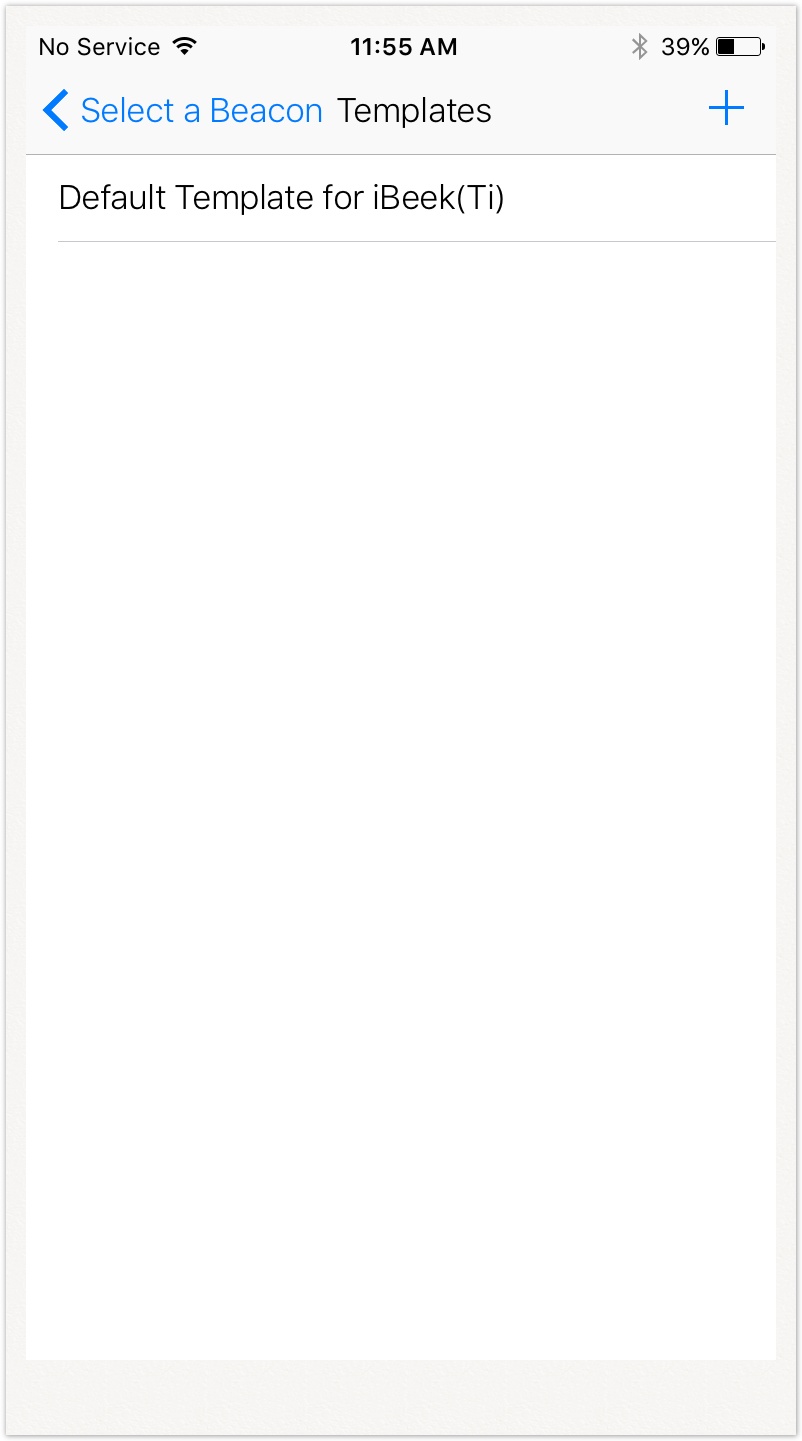
- Choose appropriate Beacon template. Please refer to 03. How-to Setup Templates for details on how to setup various templates

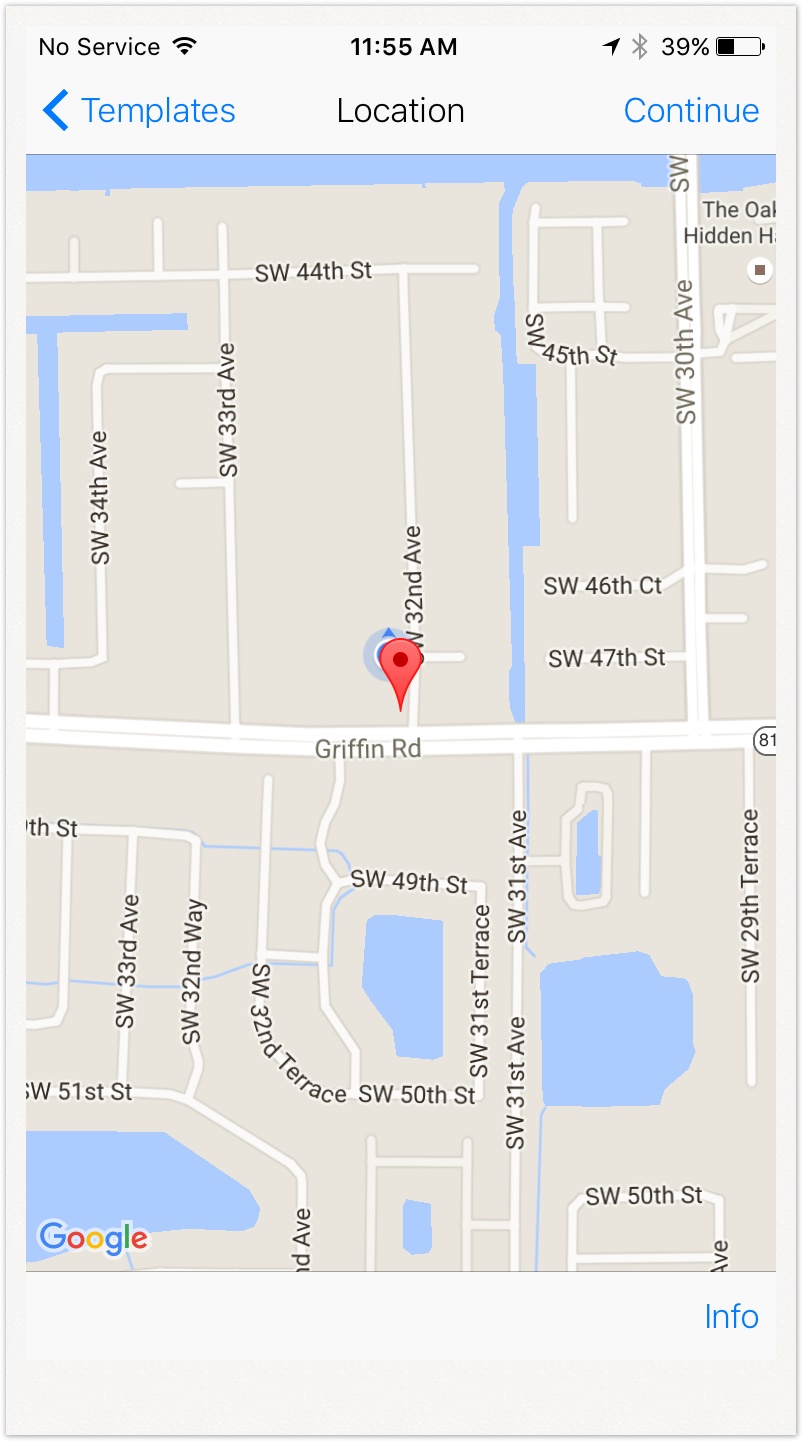
- Next you will be prompted to select the physical location of the beacon where it is being deployed. Location is assigned by GPS and can be changed manually by dragging the pin in order to be more accurate

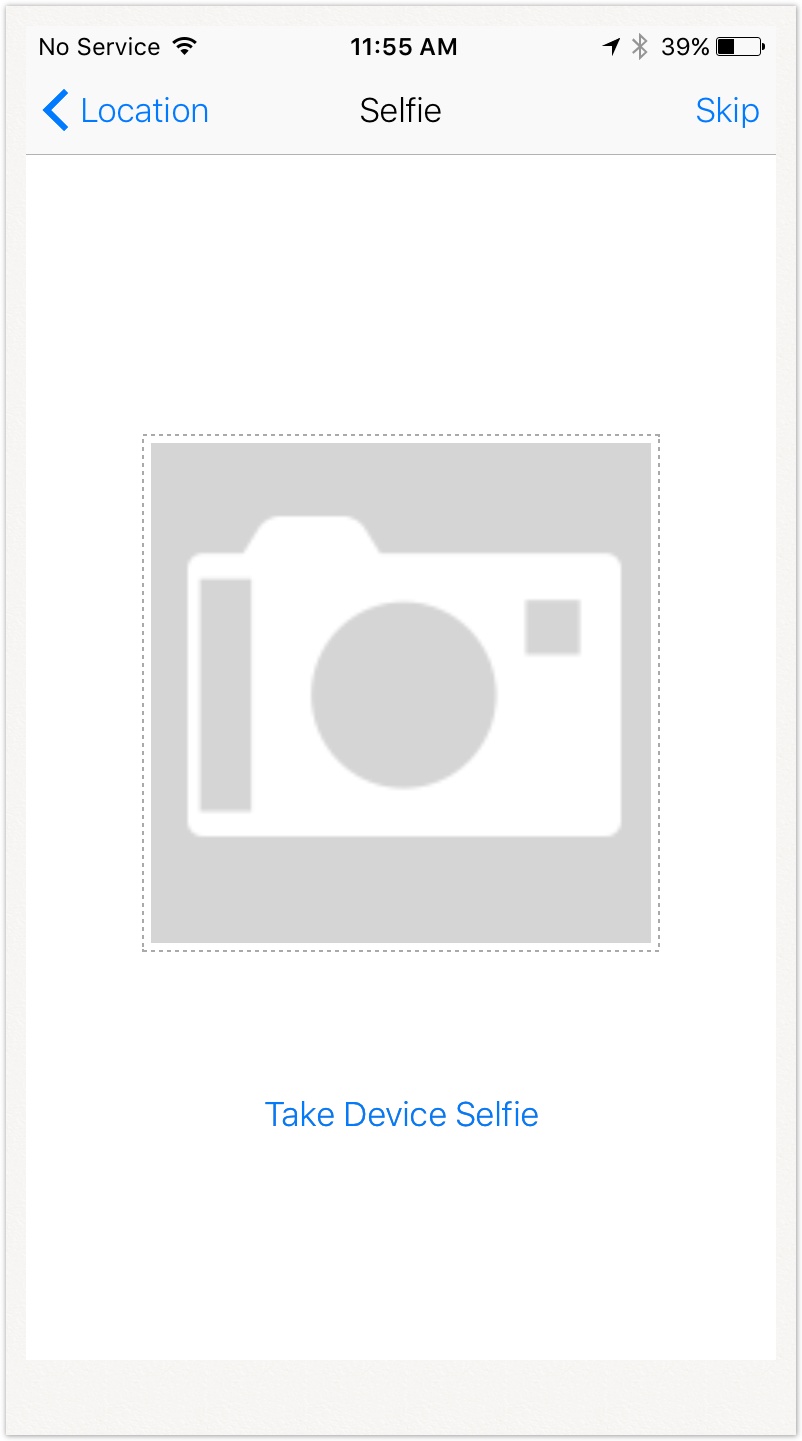
- Next you will be prompted to take a Selfie of the beacon. This is an optional step and is recommended so that others can easily identify the location of the beacon after deployment

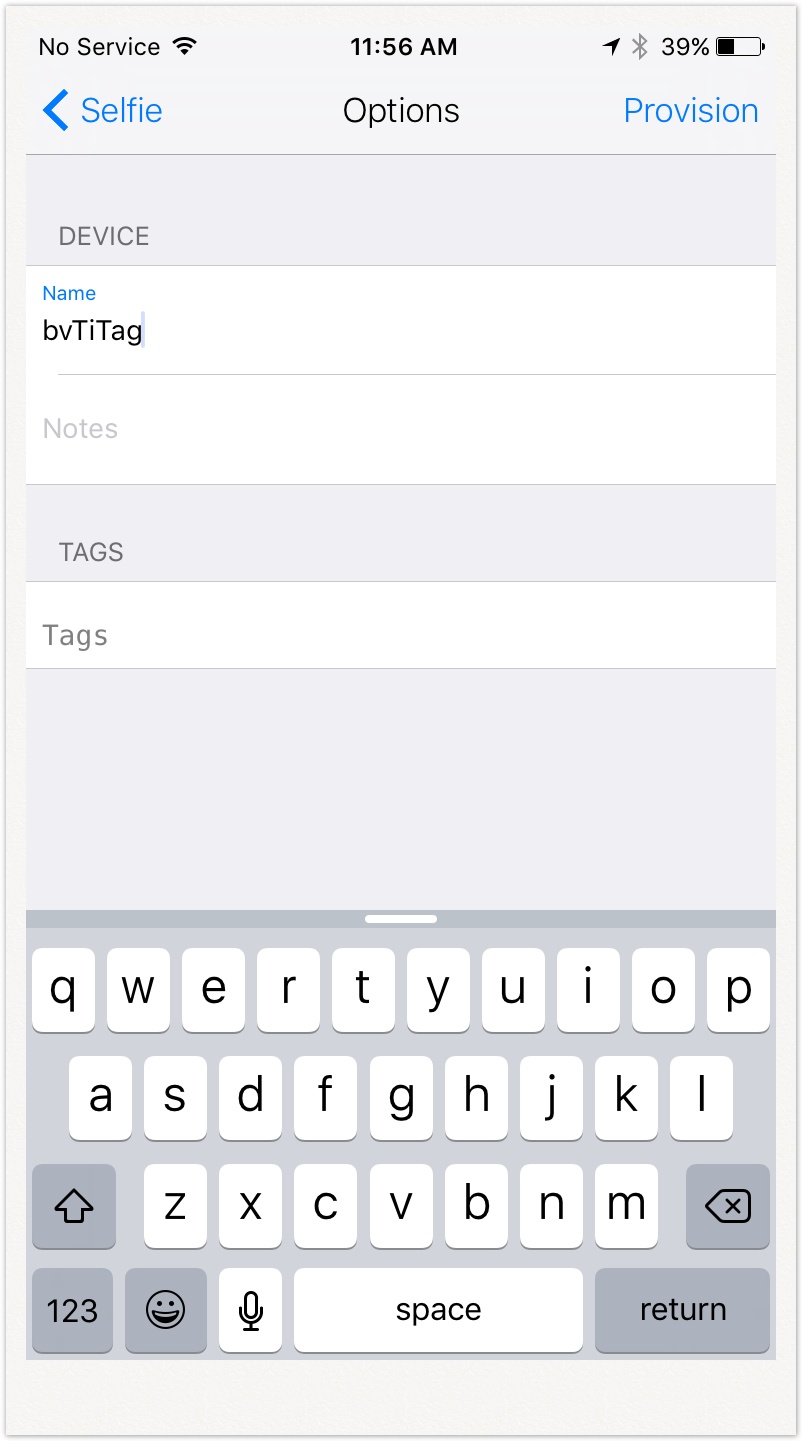
- Next you will be prompted to enter a name for the beacon. You may keep the default name but it is recommended to choose a unique name that is meaningful to you. At this time you may also add Tags from the template, or create new ones if needed. Click Provision after entering the information

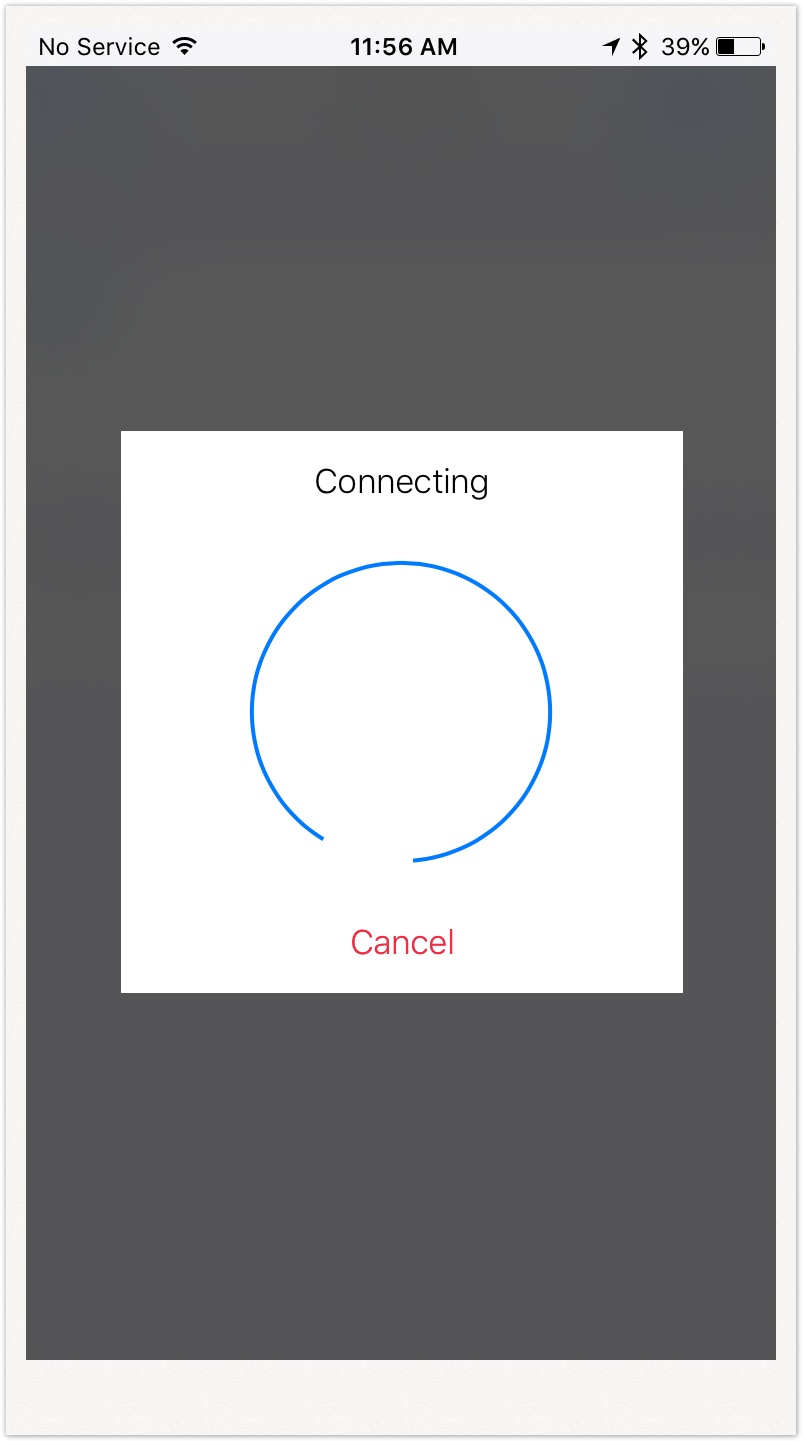
- Wait for provisioning process to complete
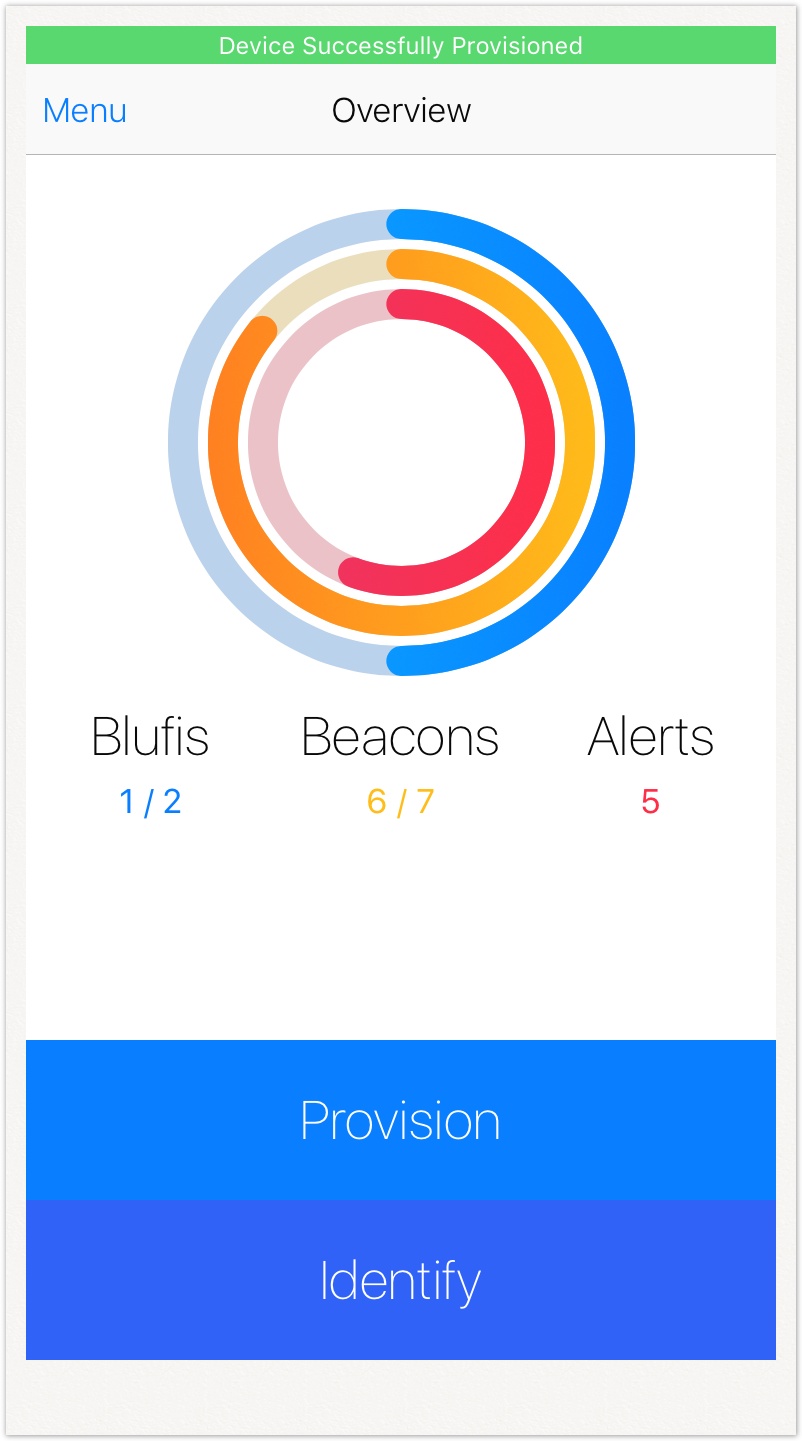
 Congratulations, you have provisioned you first Bluvision Beacon on Bluzone.io
- Pop up message appear that Device successfully provisioned.
Important notes: |
|---|
...
|
|---|
...
|
|---|
...
|
|---|
...
|
|---|
Bulk Upload Method :
The bulk upload method are explained in the below link .
Additional Product Information
Product Specifications sheet
- BEEKs CM v2 Specifications Sheet
- BEEKs Industrial Specification Sheet
- BEEKs Asset Beacon Specification Sheet
- BLE BEEKs Badge Beacon Specification Sheet
Related articles
| Filter by label (Content by label) | ||||||||||||||||||
|---|---|---|---|---|---|---|---|---|---|---|---|---|---|---|---|---|---|---|
|
...