This guide will help you how to create virtual BluFI setup in Bluzone and provision BluFl to your project .
For virtual BluFI provision setup ,you need to ask HID IoT sale team to pre provision BluFI to your project at the time of purchase order.
Once the BluFI are provision to your project then use "Virtual Device" tab in Bluzone console to create virtual devices.
1. General Setup
The following method you can use to create virtual BluFI in Bluzone.
Creating Virtual Device One-by-One
Creating Virtual Devices via Bulk Upload
Creating Virtual Devices One-by-One
Step 1 : Open the URL : https://bluzone.io/console/#/login and login to your Bluzone project .
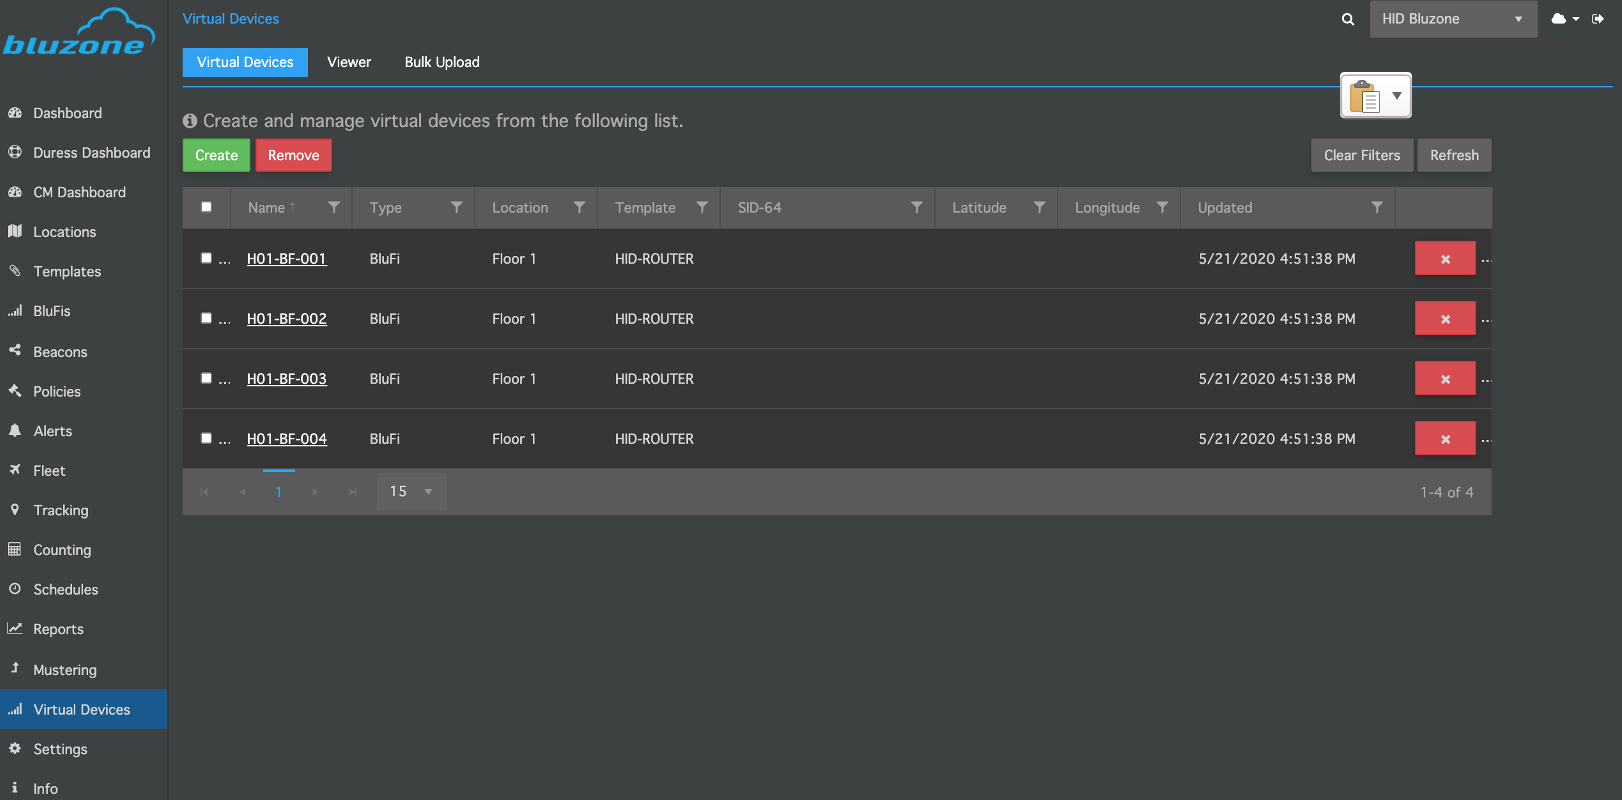
Step 2 : Click on Virtual Devices .
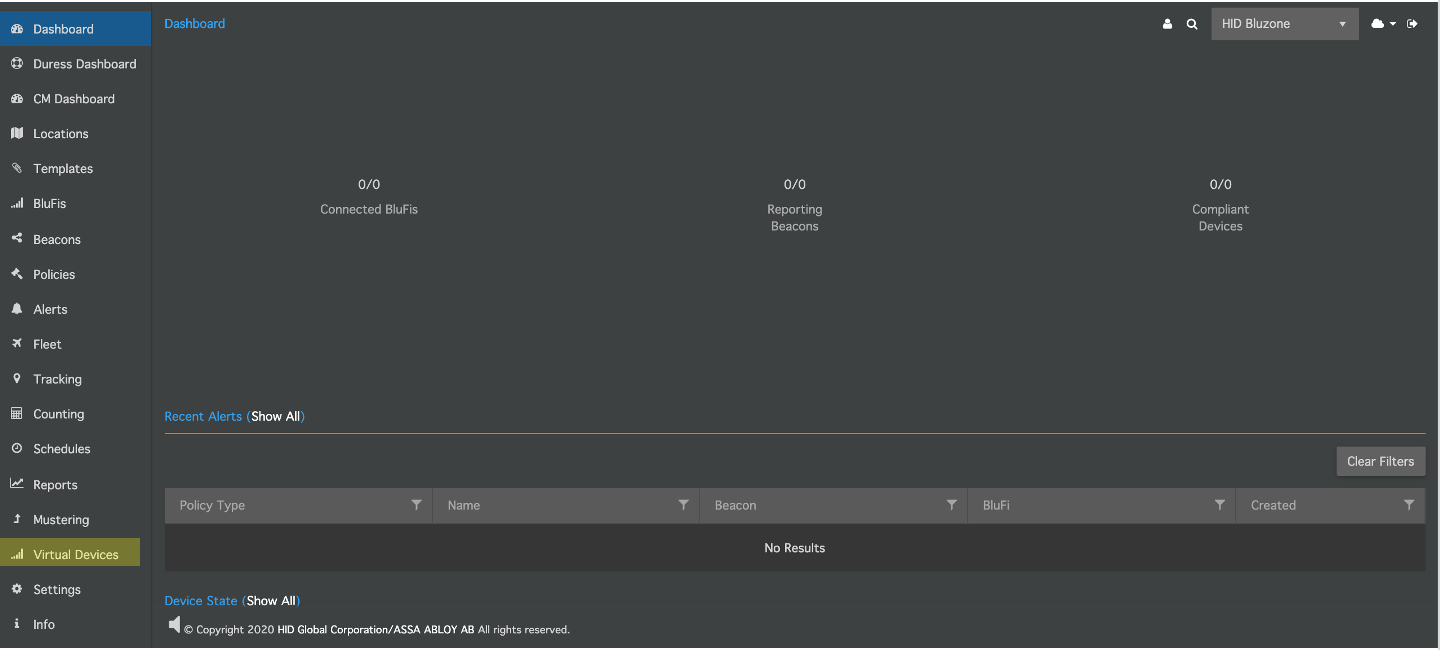
Step 3 : Click Create

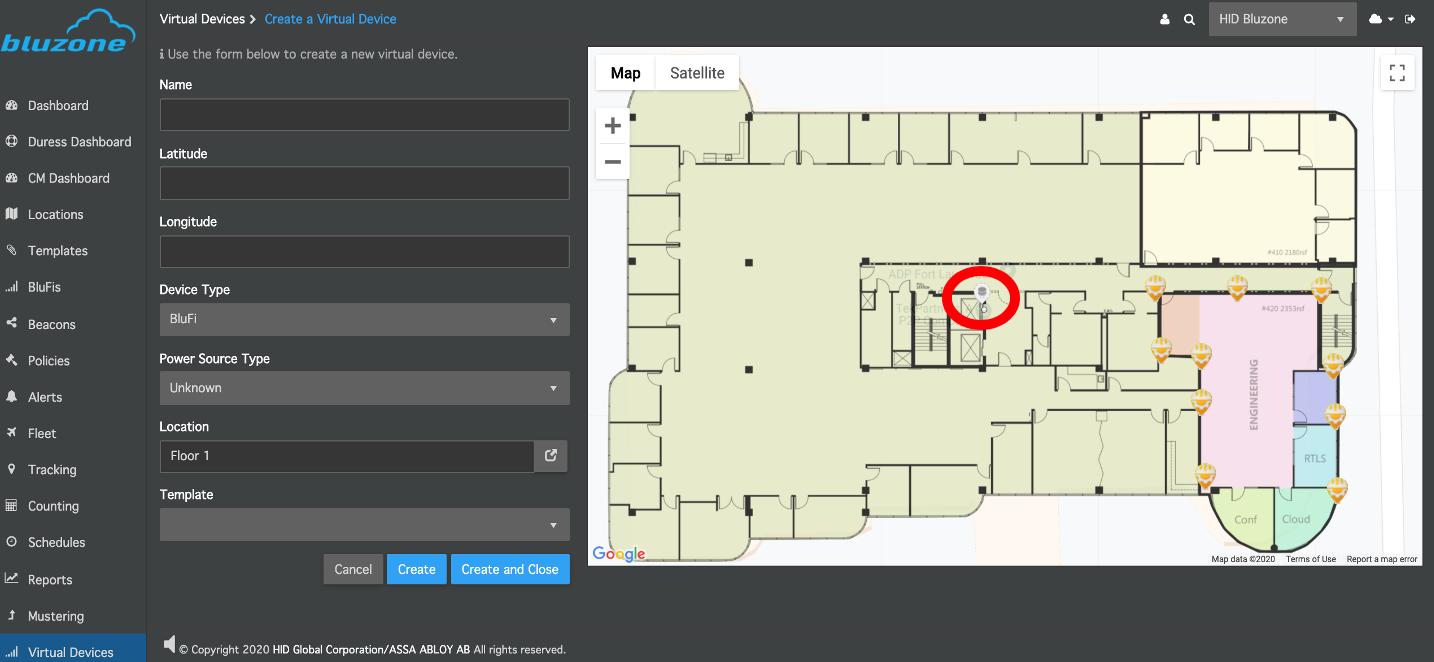
Step 4 : Virtual Device screen will open and provide the following information.
Select the Location
Type the Name Virtual Device
Select and drag the Virtual Device to the desired location on the map. Alternatively, you can also type in the Latitude and Longitude.
Default Device Type : BluFI
Select the Power Source Type : Unknown,AC or DC
Select Template from the dropdown.
Press Create or Create and Close .A pop up message will appear at bottom of the screen confirming that virtual device is created .
i) Click Create will create the Virtual BluFi and then reset the screen to add another device.
· ii) Click Create and Close will create the Virtual BluFi and then take you to the main page where you can view all the virtual devices.
iii) Click Cancel to return to the list view.
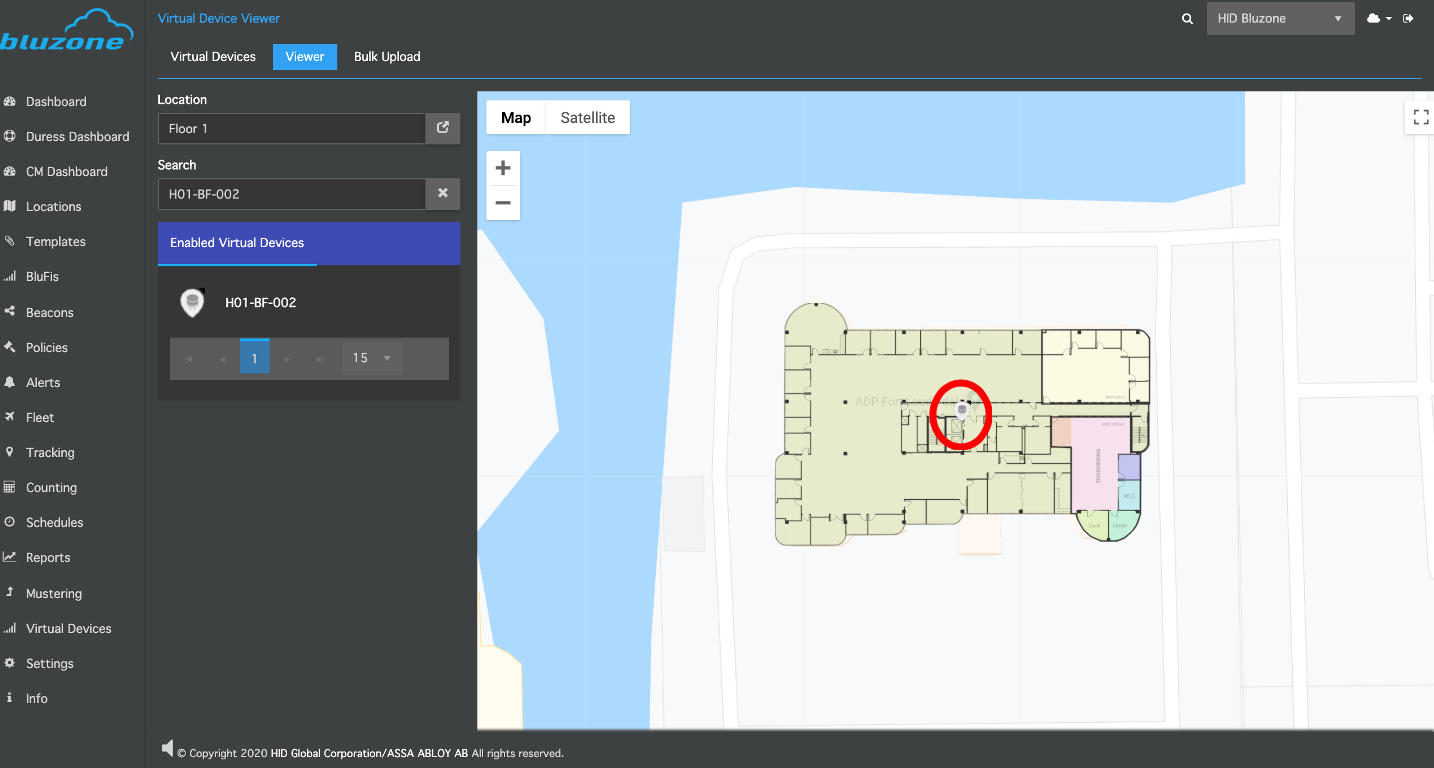
Step 5 :Click “ Virtual Devices “ tab and then select “ Viewer “
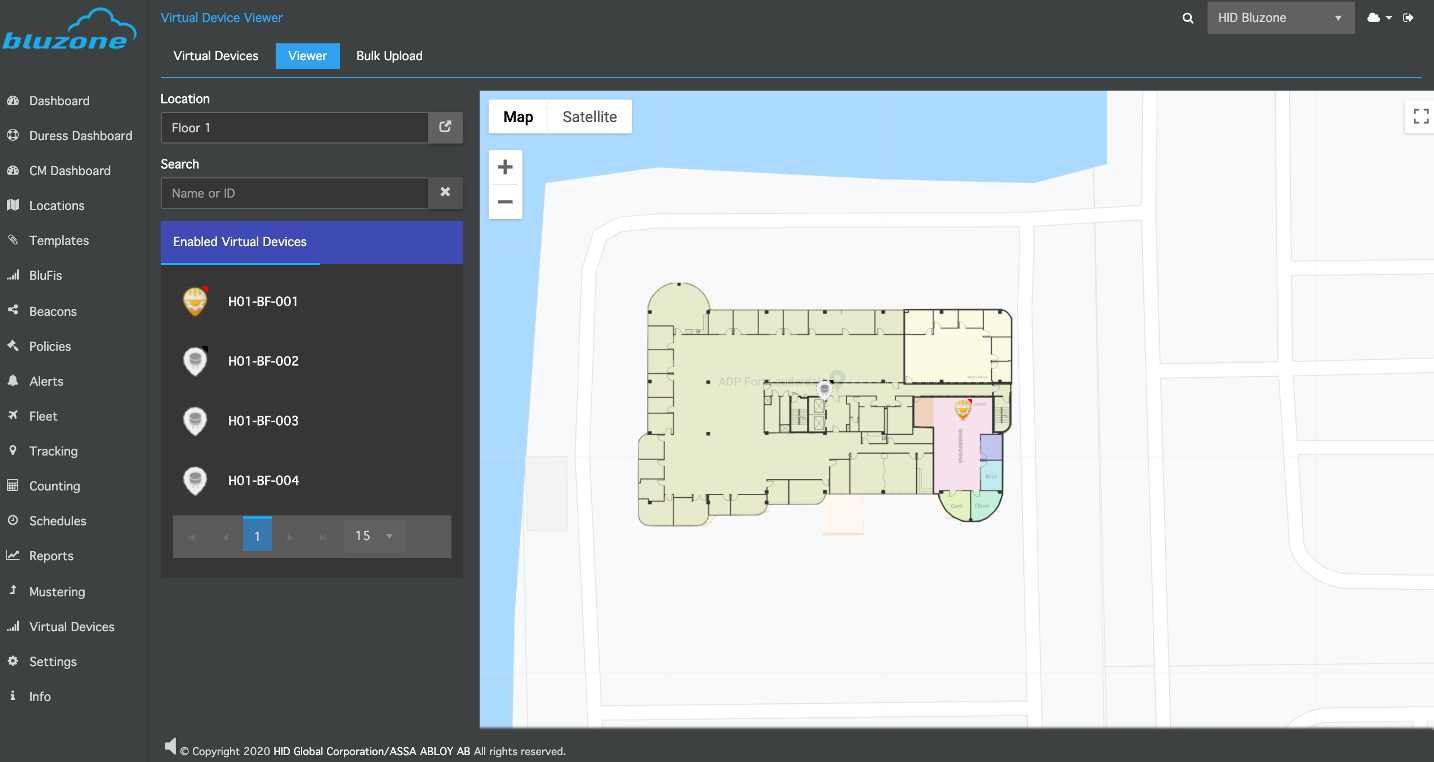
Step 5 :Select BluFI from the list and drag the Virtual Device to the desired location on the map.
Creating Virtual Devices via Bulk Upload
Step 1 : Open the URL : https://bluzone.io/console/#/login and login to your Bluzone project .
Step 2 : Click on Virtual Devices .
Step 3 :Click on Bulk Upload
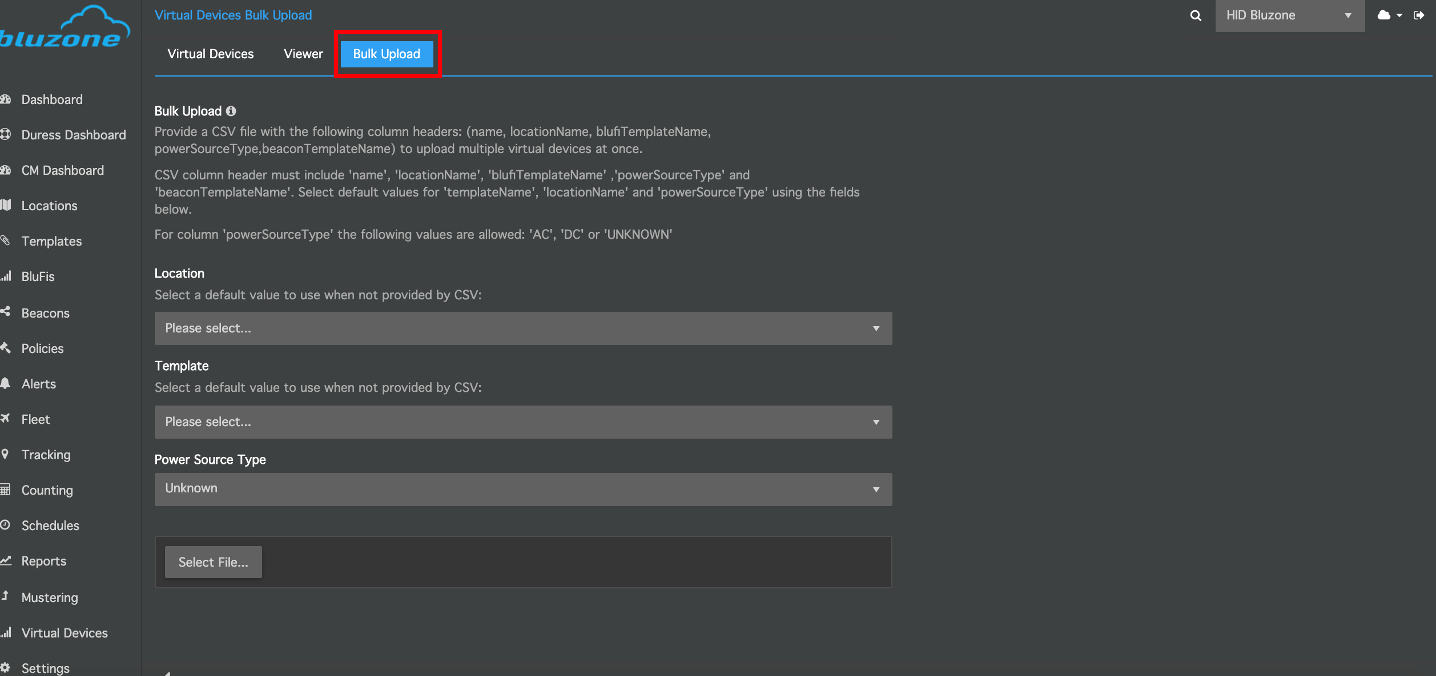
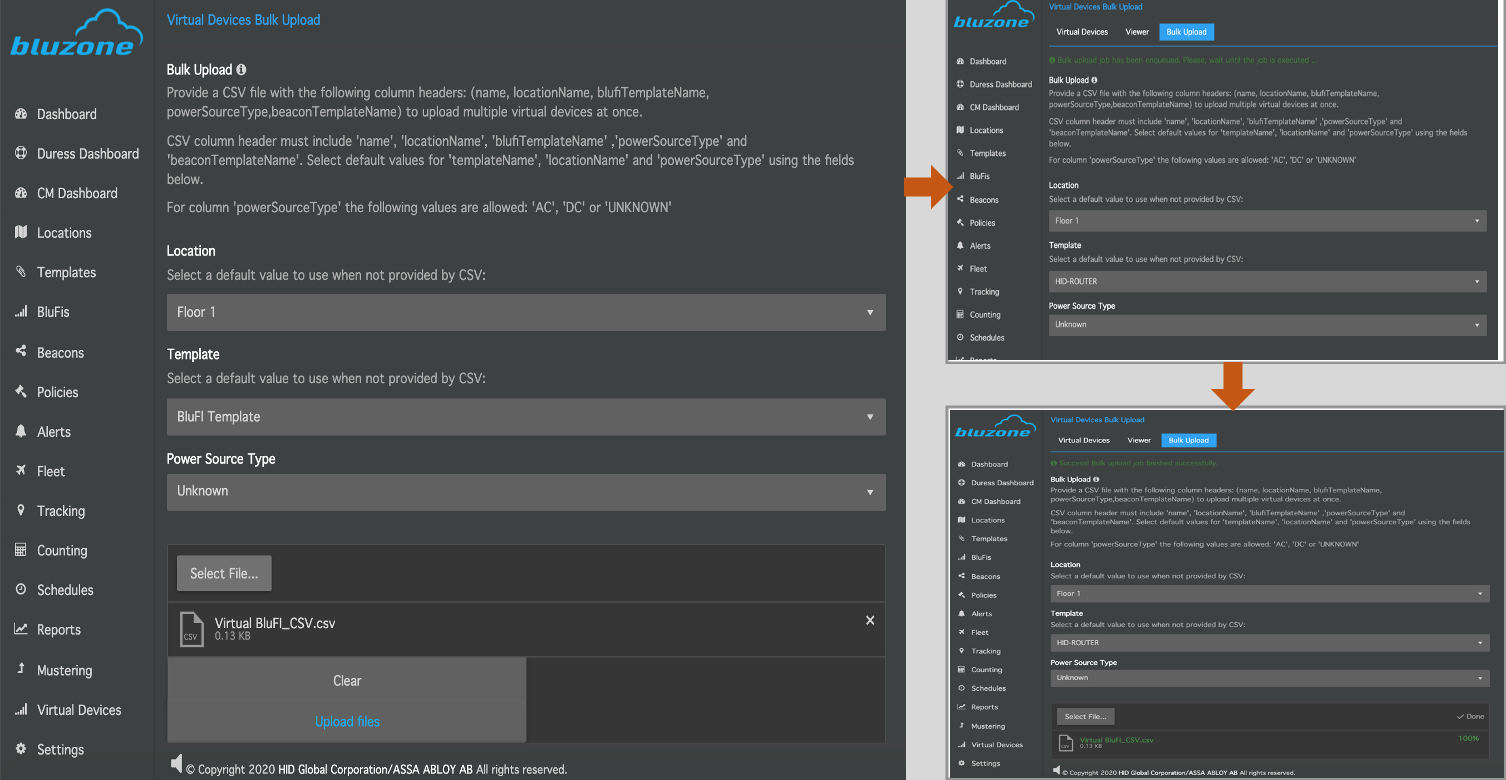
Step 3 :Select Location ,Select Template ,power source type : unknown if different type of BluFIs are in the project and select the CSV file and Press Upload files .You will get the message Success Bulk upload job finished successfully.
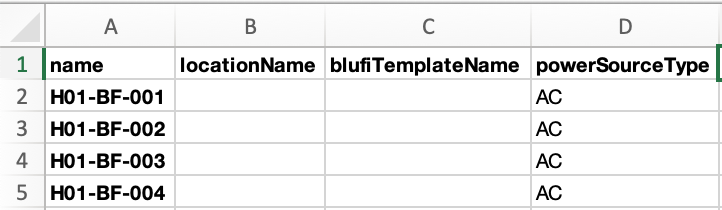
Note : Create the CSV with header name, locationName, blufiTemplateName, powerSourceType
Step 4 : Click on Virtual Devices .
Step 5 : Click Virtual Devices tab and select virtual device .

Step 2 : Click Virtual Devices tab.Select virtual device and drag the Virtual Device to the desired location on the map.Press Save
Repeat the above step2 until all BluFI have the location.
3. Provision Virtual BluFI
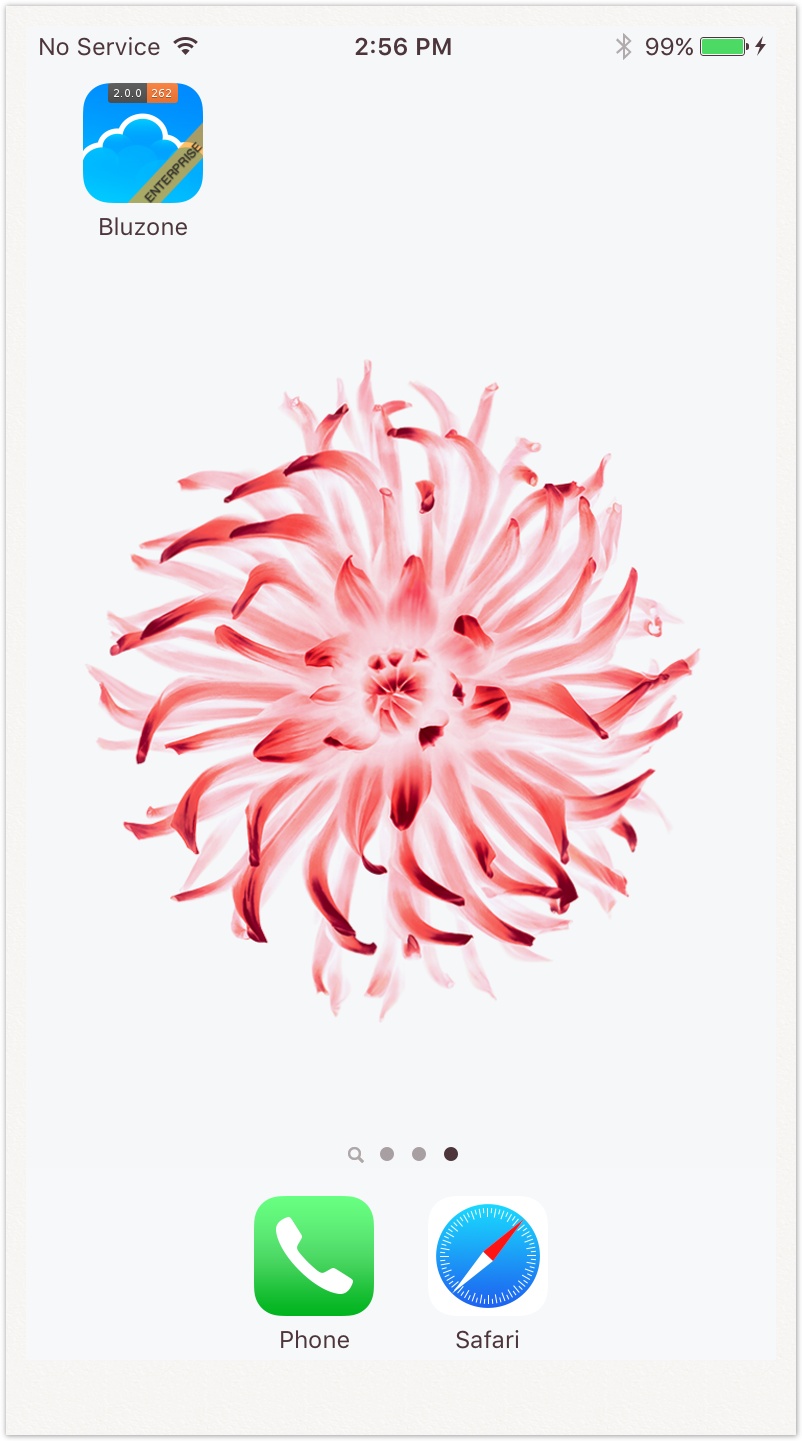
Download the Bluzone mobile app from IOS App Store or Google Play .
Step 1 : Launch the Bluzone app on your device.
Step 2 : Sign in using your username and password

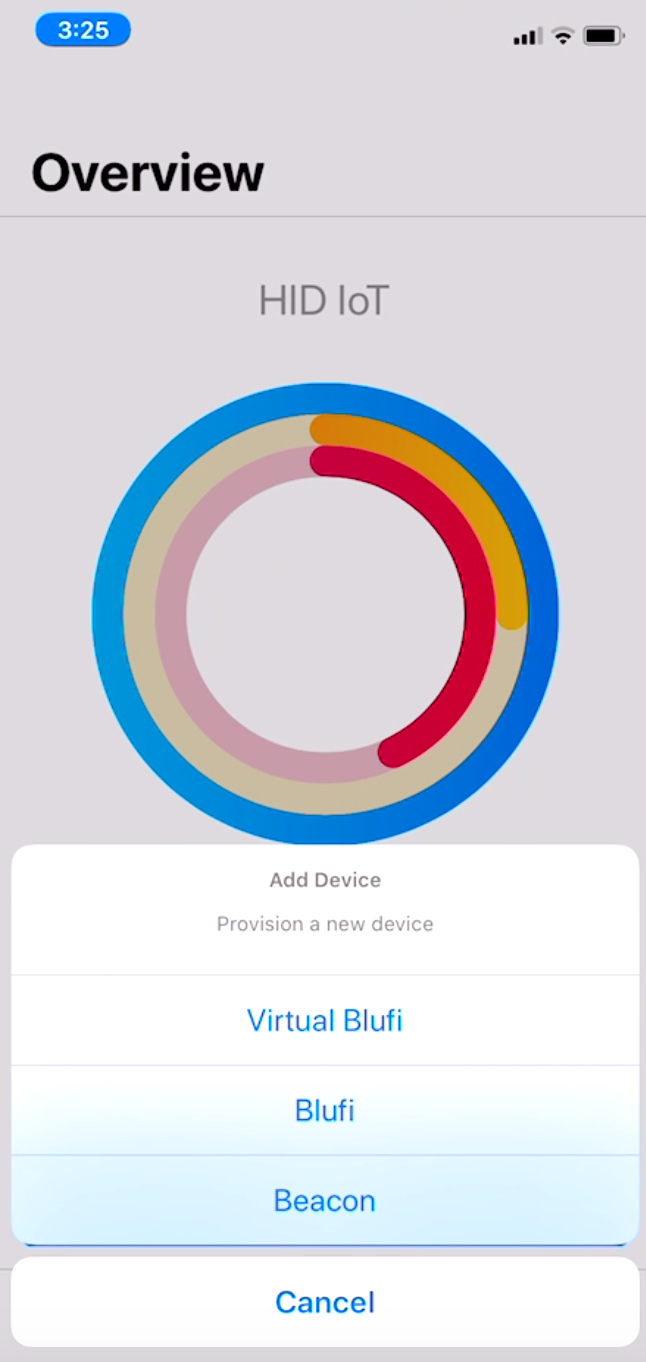
Step 3 : Click Provision

Step 4 : Click Virtual BluFi
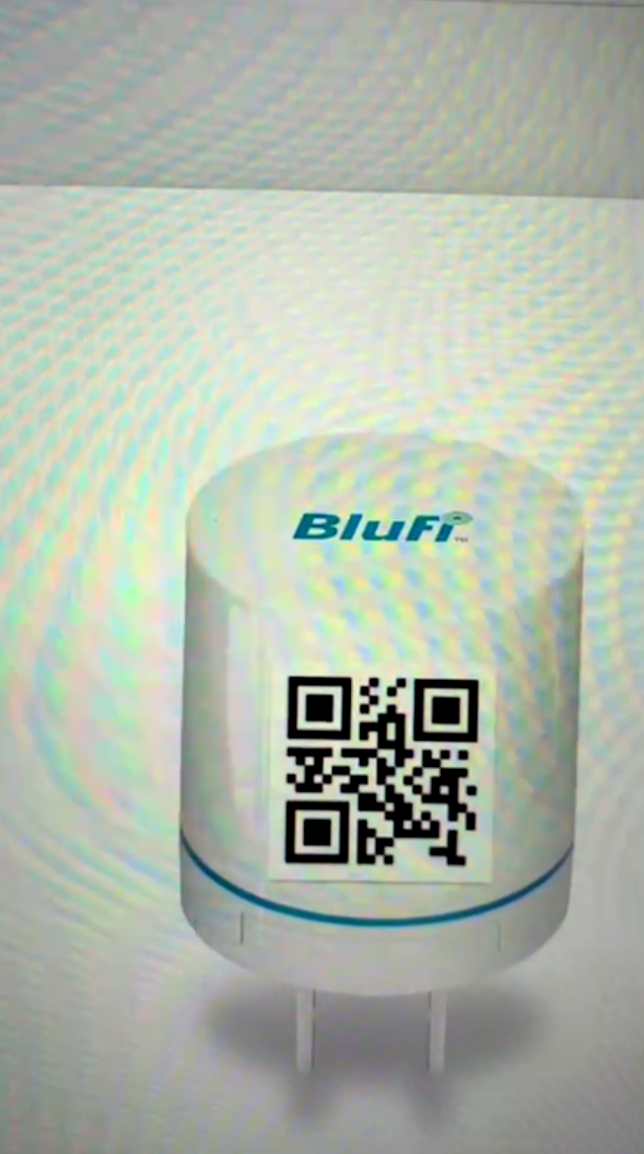
Step 5 : Scan QR Code on the BluFI
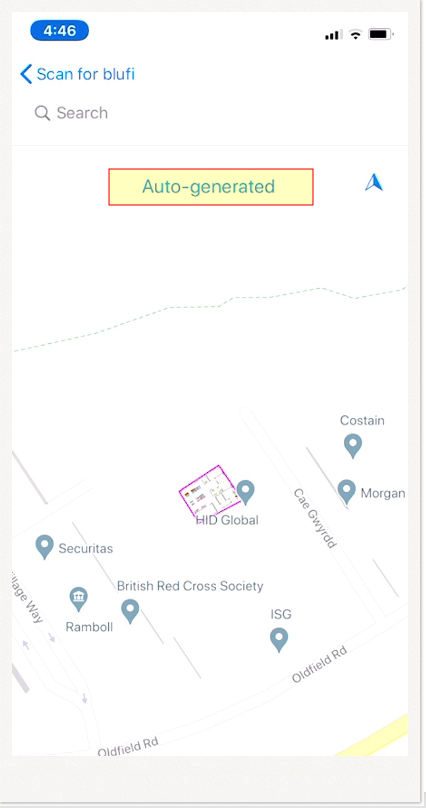
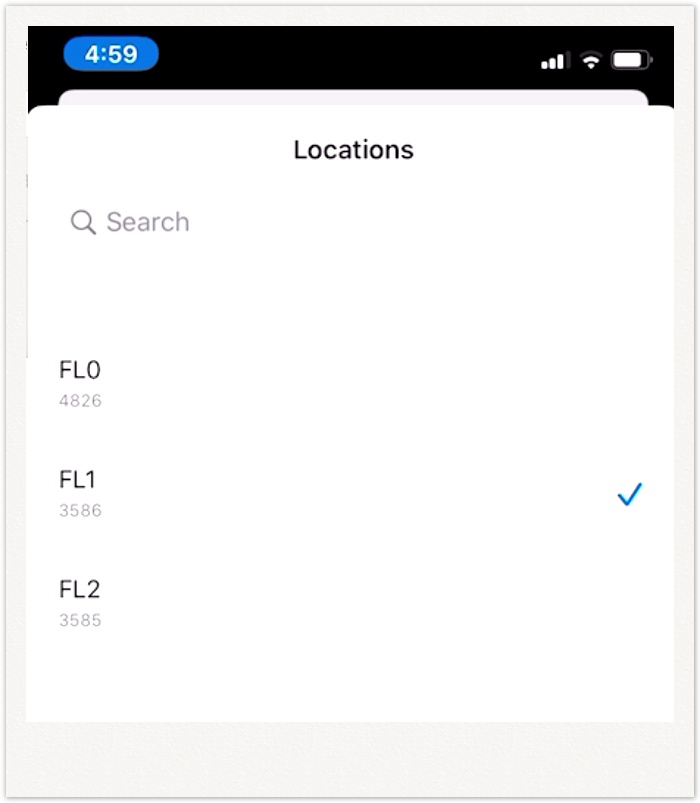
Step 6 :To Assign BluFI on the Map.Select Location
Step 7 :Select the Map
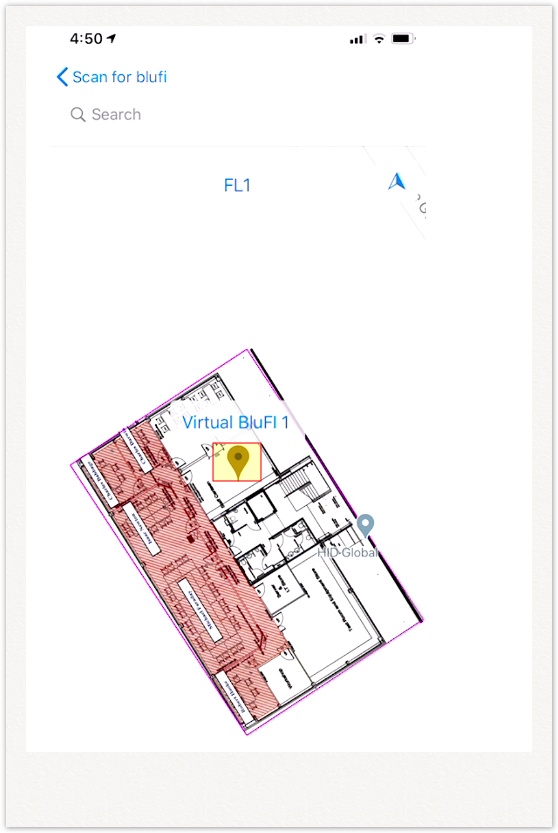
Step 8 :Select BluFl assigned on the map .
Step 9 : Select Associate
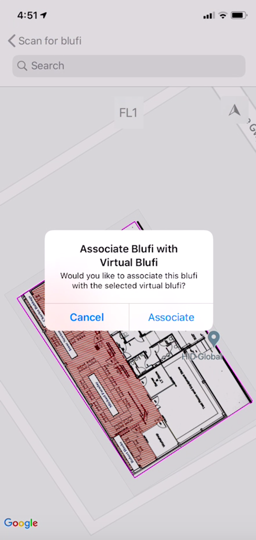
Step 10 : BluFI associated to the project.
4. Deployment and Network Troubleshooting
If you are experiencing a issue with provisioning or BluFI connectivity with Bluzone cloud then refer the below section.
Network Troubleshooting: Network requirement details for BluFI and for troubleshooting BluFI connectivity to Bluzone cloud.
5. Additional Product Information
Product Specifications sheet